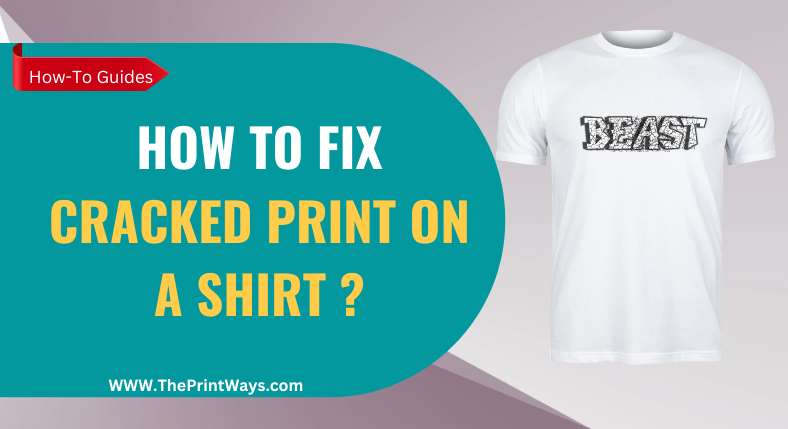
It can be heartbreaking to have a treasured item of clothing ruined, but don’t despair! Fixing cracked print on a shirt is easier than you think.
With the right materials and knowledge, anyone can repair their own clothes – and save a lot of money doing it.
Let’s See how to fix cracked print on a shirt so that it looks brand new again. So if you’re ready to get your t-shirts looking fresh once more, read on!
The first step to fixing any damaged clothing is understanding what caused the damage in the first place. When it comes to shirts with printed designs, cracking usually occurs due to poor quality printing or inadequate care when washing and drying the garment.
Identify The Problem
The first step to fixing a cracked print on a shirt is to identify the problem.
Begin by examining the shirt closely and assessing the extent of the damage. Is it just one small crack or are there multiple cracks?
Are they only visible when stretched or can they be seen without stretching? Knowing the size, shape, and location of the cracks will help you determine which repair option is best.
Next, identify what type of material is used for the print. Is it screen-printed? Heat-pressed? Directly printed onto the fabric using a machine?
Different materials require different repair techniques. If you’re unsure what kind of material was used, contact the printing company or garment manufacturer for clarification.
Once you’ve identified both the extent of the damage and what type of material was used for printing, you can begin looking into possible solutions to fix your cracked print.
Tools Needed For Repair
Now that you have identified the problem, it is time to gather the necessary tools for repairing your shirt. Depending on the size and severity of the crack, there are a few different options available.
- An iron: This essential tool will help smooth out the fabric and ensure a better repair.
- Parchment paper: You’ll use this to protect the fabric while ironing and painting.
- Fabric glue: Choose a fabric glue that’s suitable for your shirt material.
- A small paintbrush: This will come in handy when applying fabric glue and paint.
- Fabric paint: Opt for paint that matches the color and pattern of the original design.
- Optional: If you’re concerned about stability, grab a piece of cardboard to insert inside the shirt.
Related: How to Remove Logo From Shirt? (8 Best Methods)
Preparation For Fixing
Before attempting to repair a cracked print on a shirt, it is important to gather the necessary tools and materials.
1) First, the shirt needs to be completely clean before beginning the repair.
2) It should be washed in cold water and air-dried. Once the shirt is dry, it’s time to assess the damage and decide how best to proceed.
3) The materials needed for this project include fabric scissors, an iron, fabric glue or adhesive tape, and a piece of matching fabric large enough to cover the area of damage.
4) If possible, use fabric from an old t-shirt or other garment that matches the color of the damaged shirt as closely as possible.
Once all of the necessary items have been gathered, it’s time to begin fixing the cracked print on your shirt!
Iron-On Patches
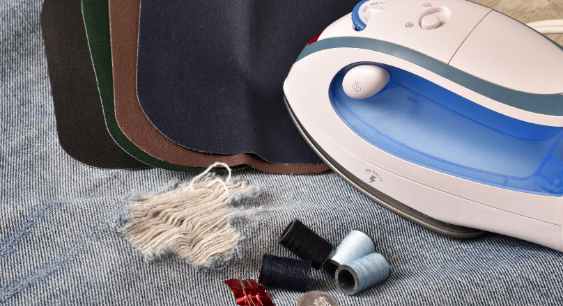
Iron-on patches are a great way to fix cracked prints on a shirt. Not only do they look professional, but they’re also easy to apply.
- To begin, you’ll need to purchase an iron-on patch from a craft store or online retailer. Once you’ve got your patch, the next step is to prepare it for application.
- Start by laying your shirt flat on an ironing board and preheating the iron on medium heat.
- Then cut the patch into the desired shape and size for the cracked print on your shirt and apply it carefully onto the fabric using an ironing cloth.
- Be sure to pay attention to details like edges and corners when applying the patch, as these will determine how well it adheres.
- Finally, use a hot iron to press firmly against the patch for several seconds until it’s secure. With patience and care, you can easily fix any cracked prints on your shirt with an iron-on patch!
Also Read: How to Fix Sublimation Mistakes? (6 Easy Ways)
Fabric Glue Method
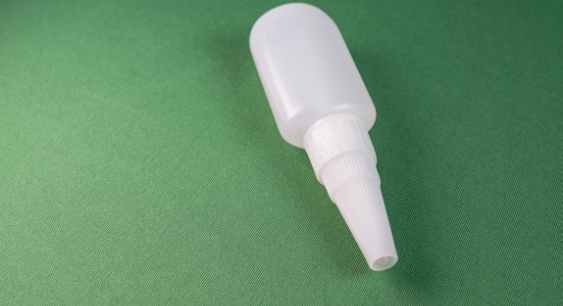
The fabric glue method is a straightforward way to fix cracked prints on a shirt.
- First, you’ll need to gather the right materials. You’ll need some fabric glue, a paintbrush or small sponge, and something to cover the area around the print. Once you have these items ready, it’s time to get started.
- Begin by covering the surrounding area with something like newspaper or plastic wrap so that you don’t get any glue on it.
- Then, use the paintbrush or sponge to apply a thin layer of fabric glue over the cracked print.
- Make sure that it covers all of the cracks and is applied evenly.
- Let it dry for several hours before removing any excess glue with a damp cloth.
When everything is dry, your shirt should look as good as new! With this method, you can easily repair cracked prints without having to replace your shirt.
Thread And Needle Method
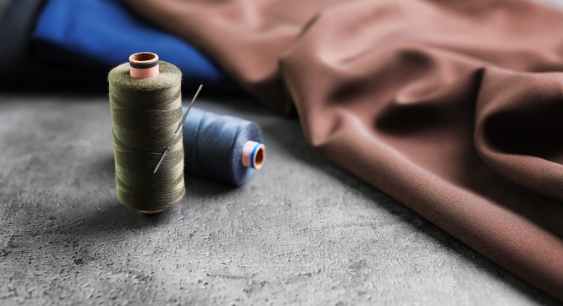
The next method for repairing a cracked print on a shirt is the thread and needle method. This can be used when the crack in the print isn’t too deep or wide, and it requires no additional materials.
- To begin, take a needle and thread that closely matches the color of your shirt.
- Thread it through the eye of the needle, then tie a knot at one end so it won’t pull through.
- Now, carefully stitch along either side of the crack, making sure to keep your stitches small and close together. Doing this will help to strengthen the fabric around the crack, helping to prevent further damage from occurring.
- Once you’ve finished stitching up both sides of the crack, tie off your thread and snip off any excess with scissors.
You May Like: How to Remove Sublimation Ink from Shirt ?
Sewing Machine Repairs
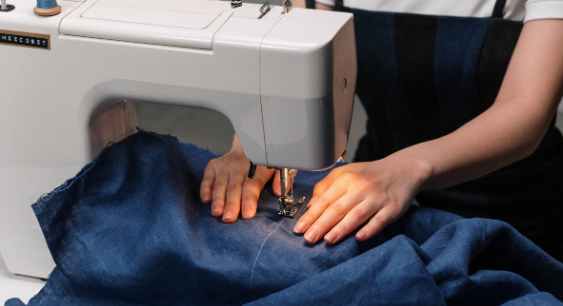
If the crack in the print on your shirt is too large to be fixed with an iron, you may need to make a repair with a sewing machine.
- Before attempting any repairs, it’s important to make sure that your sewing machine is in good working condition.
- Once your sewing machine is up and running, it’s time to start making the repair.
- Depending on the size of the hole, you may need to use a patch of fabric or special stabilizer material as reinforcement for your repair job.
- Then, using thread that matches the color of the shirt, stitch around the edges of the hole and secure the patch in place.
- Make sure to use small stitches so that they don’t show through on either side of the garment.
- When stitching around a curved area like those found near armholes or necklines, use even smaller stitches and slow down your speed so that you can get an even line without gaps between stitches.
- When finished, press down firmly on both sides of each stitch with an iron or pressing cloth to ensure that they all hold together properly.
With this technique, you should have a durable repair job that will last for years to come!
Popular: How long Does it take to Make a Dress?
Conclusion
Fixing cracked print on a shirt doesn’t have to be hard. With the right tools and preparations, you can easily restore your shirt and make it look good as new.
Iron-on patches, fabric glue, thread and needle, or even a sewing machine repairs are all great options for fixing cracked print on a shirt.
No matter what method you choose to fix your cracked print on a shirt, just remember to take your time and work carefully so that you don’t make any mistakes.
With patience and dedication, you’ll be able to get your favorite shirts back in tip-top shape in no time!