Have you ever seen an old, distressed t-shirt with a unique and stylish look? If so, you may have asked yourself: how did they create that effect on the fabric? The answer is simple – acid, bleach, and mineral wash a shirt! With just these three steps, anyone can transform their plain shirt into something special. Get ready to find out more about this interesting technique in this article.
When it comes to bleaching or washing garments to achieve a certain aesthetic, there are many methods available. One of the most popular techniques involves using acid, bleach, and mineral wash. It’s easy to do at home if you follow the instructions closely.
What Is The Difference Between These Washing Methods(Acid Wash, Bleach Wash, Mineral Wash)?
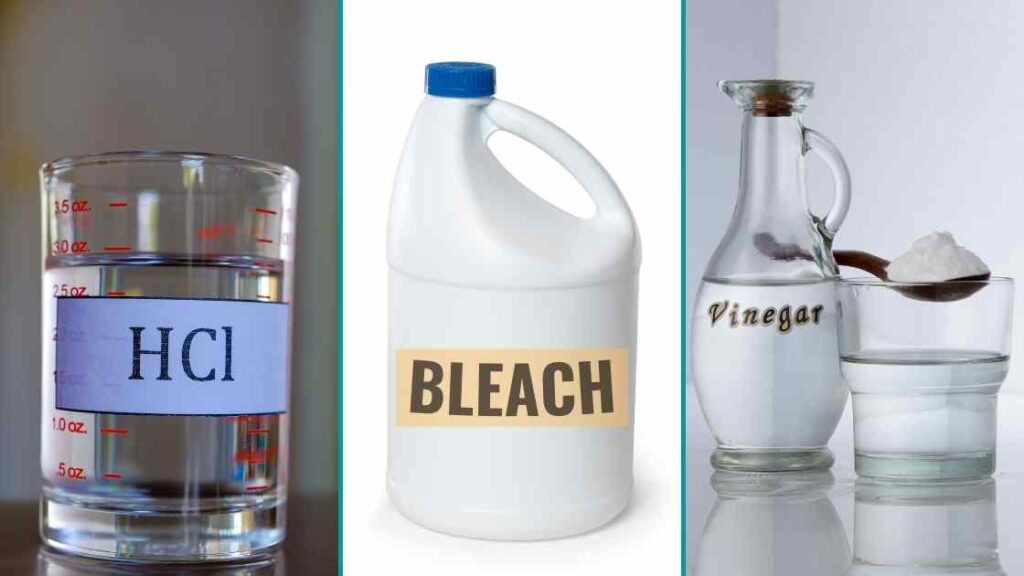
Acid Washing: Acid washing is a process that involves using an acid solution to create a distressed, worn-out look on fabric. This process can be used to give denim jeans and other garments an aged or vintage appearance.
Bleach Washing: Bleach washing uses bleach as the main ingredient in a cleaning agent. The purpose of this type of wash is to lighten or whiten fabrics by removing color from them.
Mineral Washing: Mineral wash, on the other hand, utilizes minerals such as salt, potassium chloride, copper oxide and zinc oxide to produce unique designs and patterns on clothing items. It’s usually done with pre-dyed materials so it won’t change their colors significantly but will add subtle nuances instead. All three methods are great ways to customize your wardrobe without breaking the bank!
How To Mineral Wash A Shirt?
To mineral wash a shirt, you’ll need to start with some basic supplies.

Required Supplies:
- White vinegar or citric acid
- Washing soda or baking soda
- Bleach (Optional, can be used to enhance quality)
- Bucket or basin
- Water
- Dye (Optional, also can be used to give it a unique color)
- Salt
Step-By-Step Guide to Mineral Wash Shirt
- Choose a shirt that is made from a fabric that can withstand the mineral washing process, such as cotton or denim.
- Fill a bucket or basin with enough water to fully submerge the shirt.
- Add white vinegar or citric acid, washing soda or baking soda, and any optional ingredients like salt, dye, or bleach. Stir the mixture well.
- Put on rubber gloves to protect your hands, and carefully submerge the shirt into the mixture. Stir it around so that it’s fully saturated.
- Leave the shirt in the mixture for anywhere from 30 minutes to a few hours, depending on the desired effect. The longer you leave it in, the more faded and worn it will appear.
- After the desired time has passed, remove the shirt from the mixture and rinse it thoroughly with cold water.
- Wash the shirt by itself in a washing machine or by hand, using a gentle detergent.
- Dry the shirt according to the care instructions for the fabric.
Related Post: Can you Wash Multiple tie dye Shirts Together?
How To Mineral Wash T Shirt?
Mineral washing a t-shirt is an easy way to add unique texture and color variation. It’s also an environmentally-friendly option compared to traditional dyeing methods as it uses fewer chemicals.
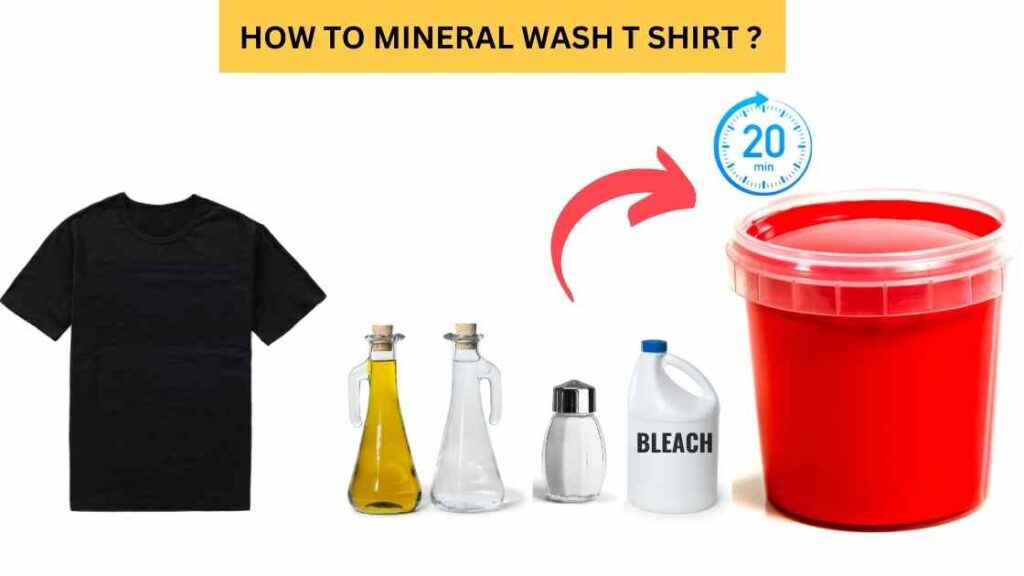
Here’s how you can do it yourself:
Step 1: First, start by mixing one part mineral wash solution with two parts water in a large container or bucket. Make sure the container is big enough for you to fit your t-shirt in without overcrowding it.
Step 2: Next, place the t-shirt in the solution and leave it there for about 20 minutes. After that time has passed, take out the shirt and rinse off any excess minerals with cold running water.
Step 3: Then hang up the shirt on a clothesline outdoors so that it can dry completely before wearing.Once dried, wear your new custom looking t-shirt!
How To Mineral Wash Hoodies?

Here’s how you can mineral wash hoodies in just three simple steps:
- Start by filling up a bucket or large container with cold water and 1/2 cup of bleach. Make sure the ratio of water to bleach is equal; too much bleach will make it difficult for the fabric to achieve that classic mineral wash look.
- Submerge the entire hoodie into the solution and let it sit for at least 15 minutes before removing from the liquid. This process helps ensure that all areas of the garment are exposed to the same amount of bleaching agent.
- Once removed from the solution, rinse off any excess bleach using cold water until all remaining traces have been washed away and then allow your hoodie to air dry completely before wearing again.
To get an even more distressed look, here are some additional helpful tips when mineral washing a hoodie:
- Use warm rather than hot water as this will help prevent shrinkage and fading over time
- For extra softness, add 1/4 cup of salt to your solution
- To avoid discoloration, try not to leave your garment submerged in the mixture for longer than 30 minutes
- If desired, use baking soda instead of bleach to create less intense color variations on lighter fabrics such as cotton or polyester
Also Read: How to Wash Sublimation Shirts? A Complete Guide (2023)
Can Mineral Washing Be Done On Any Fabric, Or Only Certain Types?
Mineral washing is a unique and interesting way to give an item of clothing, such as a hoodie, an individualized look. But can it be applied to any fabric? The answer depends on the type of mineral wash being done.
Acid and bleach are two common methods used in mineral washing, but they may not work on certain fabrics due to their chemical properties. If acid or bleach is used, it’s best to stick with natural fibers like cotton or linen. Mineral washes that use abrasives, however, can usually be applied to most materials without causing damage.
Also Read: Can you Tie Dye a Grey Shirt? Full Guide (2023)
It’s also important to consider how much wear and tear the material has had before attempting this process since some fabrics may have weakened over time. Ultimately, if you’re unsure what kind of fabric your garment is made from or if it will hold up to a mineral wash treatment, it’s always wise to test it first on a small inconspicuous area before proceeding further.
How To Mineral Wash Sweatshirt?
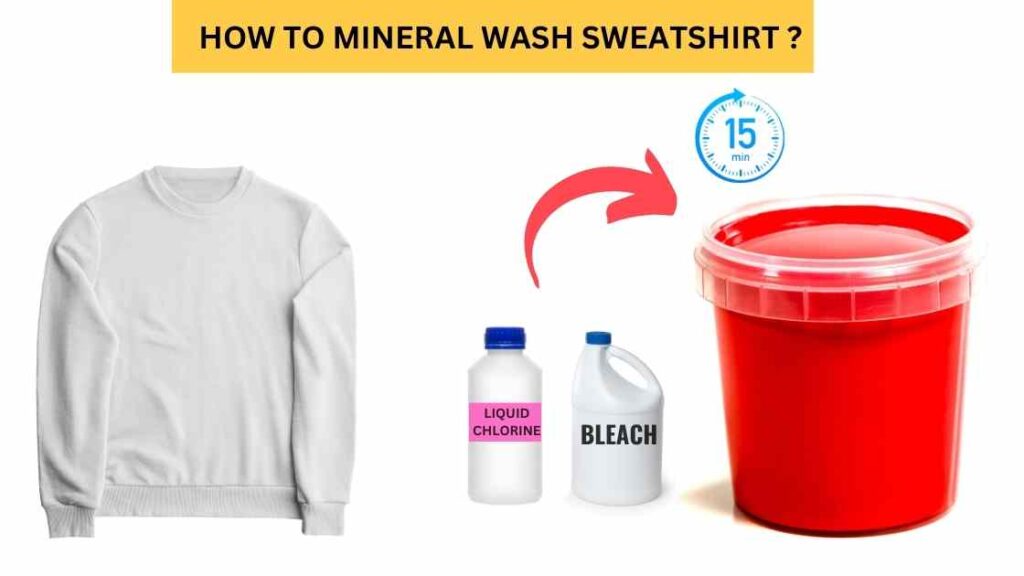
To achieve the perfect mineral wash look on a sweatshirt, you’ll need some patience and a few supplies.
Begin by getting your hands on a bottle of powdered bleach or liquid chlorine bleach. Make sure to read the label carefully before using.
Then, fill up your sink with lukewarm water and mix in about half a cup of the bleach solution. Submerge the shirt into the mixture for about 15 minutes until it’s completely soaked through.
Next, take the shirt out of the solution and rinse it off thoroughly with cold running water to remove any excess bleach.
After that, grab an old toothbrush and scrub away at any stubborn stains while wearing rubber gloves so you don’t damage your skin. Once you’re done scrubbing, put the shirt back into its original shape then hang it outside in direct sunlight until dry.
Also Read: How much Does a Shirt Weigh? Fully Explained !
What Kind of Acid Should I Use for Acid Washing Clothes?
When acid washing shirts or clothes, muriatic acid or hydrochloric acid is commonly used. However, it is important to note that these acids can be very dangerous if not handled properly. It is recommended to use a diluted solution of the acid and to wear protective gloves, eye goggles, and a face mask when working with it. It is also important to work in a well-ventilated area and to avoid contact with the skin or eyes.
How To Acid Wash Clothes?
To acid wash clothing you’ll need some basic supplies. Before starting the process, it’s important to read the care label on your garment so that you know what materials it is made from.

Requires Supplies:
- Muriatic acid or hydrochloric acid (Handle With Care !)
- Water
- Plastic container
- Rubber gloves, Eye goggles, Face mask (For Protection)
- Stirring utensil
- Baking soda
- Large container or tub
Steps:
Step 1: Begin by soaking the item of clothing in warm water with 1 cup of white vinegar added for about an hour. This will help open up the fabric’s fibers which makes them more receptive to bleaching.
Step 2: After this time has passed, take out the garment and rinse off any remaining vinegar before squeezing out excess moisture.
Step 3: Once dry, spread out the garment on a flat surface and generously apply a mixture of bleach and baking soda directly onto areas where you want to create patterns or discolorations. Make sure not to over-bleach as this can damage or weaken fabrics.
Step 4: Leave the solution on until desired color achieved then rinse thoroughly with cold water until all residue is gone. Finally hang up or lay flat to air dry completely before wearing again!
Related: Can you put Wet Clothes in the Dryer?
How To Acid Wash A Shirt And Tshirts?
Moving on from the previous section, acid washing t shirts and shirts is a great way to give garments that unique vintage look. It involves using an acidic agent along with bleaching or mineral washing in order to achieve the desired effect.
Here are the steps you need to take when acid washing t shirt and Shirts:
- Pre-treat any stains before beginning by soaking them in cold water and detergent for at least 30 minutes.
- Soak your garment in a mixture of warm water and vinegar (1 part vinegar per 3 parts water). Let it soak for about 15 minutes.
- Take out the garment and wring it out until most of the moisture is gone. Then pour some bleach over it, making sure not to use too much as this could damage the fabric. Spread evenly across both sides of the shirt/tshirt then place back into the same solution used earlier.
- Dip your garment into a new bucket filled with mineral spirits such as white spirit or turpentine, which helps create more depth in colouration, allowing different shades of blue or green to appear on either side of the fabric depending on how long you leave it submerged – anywhere between 5 minutes up to 1 hour will do!
- Once finished, rinse off all chemicals thoroughly with clean running water before hanging up dry naturally. Be sure to wash your hands afterwards too with soap and hot water as these chemicals can be hazardous if they come into contact with skin directly!
You May Like: How long Does Clothes Take to Air Dry ? Comprehensive Guide !
How To Make Acid Washed Jeans?
Creating acid washed jeans is a fun and easy project that can be done in the comfort of your own home.
Step 1:
First, you’ll need to gather some supplies: rubber gloves, safety goggles, bucket or basin, bleach and water (1 part bleach to 4 parts water).
Step 2:
Start by submerging the jeans into the solution for anywhere from 10 minutes up to two hours depending on how light you want them; removing every 15-20 minutes to check on their progress. Once they’ve reached the desired level of fading, rinse with cold water until all traces of bleach are gone.
Step 3:
The next step involves mineral washing. Fill a separate bucket with warm water and add 1 cup of table salt per gallon of liquid.
Step 4:
Again, submerge the jeans in this solution for about 30 minutes then take out and let air dry completely before moving onto final touches like distressing any areas you’d like more faded or worn down look.
Step 5:
To complete the acid wash effect, rub vinegar over select spots using a cloth or sponge. This will help create a unique pattern as it fades various sections differently than others. Let sit for 20-30 minutes then once again rinse with cold water and hang dry overnight before wearing!
Related Post: How to Soften Stiff Thick Jeans? (8 Best Methods)
Can Acid Washing Be Done On Any Fabric, Or Only Certain Types?
Moving on, acid washing is not recommended for all fabrics. It’s best to stick with denim or cotton when it comes to this type of treatment. Synthetic materials such as polyester and rayon are often too delicate and can be damaged by the chemicals used in the process.
Certain types of natural fibers may also be vulnerable, so always test a small patch before trying to acid wash an entire garment. Furthermore, if you choose to use bleach or mineral washes, make sure that the fabric is colorfast beforehand – otherwise you may end up with a faded look rather than the desired effect.
How To Bleach Wash Shirt?
Bleaching a shirt is an effective way to create unique designs and patterns. However, it’s important to take caution when bleaching fabric as the chemical process can be extremely damaging if not done correctly. Here’s how to bleach wash a shirt safely:
Step 1:
First, gather all of your supplies including rubber gloves for protection, liquid or powdered bleach, salt, a bucket or sink filled with warm water and a small spray bottle.
Be sure that the container you use for mixing large amounts of bleach has never been used before and cannot be used again afterwards; this will prevent any future contamination from occurring.
Step 2:
Next, dissolve one cup of salt into two quarts of hot tap water in either a bucket or sink. Then mix ¼ cup of bleach into 1 quart of cold tap water in the spray bottle.
Step 3:
Start by spraying areas on the shirt where you want lighter coloration and dip sections at a time into the salted mixture for 5-10 minutes until desired shade is achieved.
Step 4:
Lastly, rinse off excess bleach thoroughly with cold running water then hang up shirt to dry completely in an open area away from direct sunlight. The results should provide beautiful tonal variations throughout!
What Kind Of Bleach Should I Use For Bleach Washing A Shirt?
When it comes to bleach washing a shirt, there are many different options. It is important to make sure you select the right type of bleach for your fabric and desired outcome.
* Below are some types of bleaches that can be used:
Chlorine Bleach:
– This type of bleach is great for whites because it helps remove stains and brighten fabrics. However, chlorine bleach should not be used on colored garments as it may cause them to fade or discolor.
Color-safe Bleaches:
– If you wish to use a bleach on colored materials, color-safe bleaches are ideal since they do not contain any chlorine and won’t damage the dye in the fabric. While these products won’t get rid of tough stains like regular bleaches will, they will help keep clothes looking brighter over time.
Conclusion
In conclusion, acid washing, bleaching and mineral wash are all effective methods for giving a shirt an updated look. These techniques can take anywhere from minutes to hours depending on the desired result but it is important to be careful as these processes can damage fabrics if not done correctly.
I personally recommend taking your time with each step so that you get the best results possible without damaging the fabric or putting yourself at risk of injury. With some patience and practice, anyone can use these methods to give their clothing a new look in no time!

