Do you use Silhouette Studio but find it difficult to make changes to your photographs or crop them? If that’s the case, you’re certainly not alone. Many people find it difficult to edit and crop images, especially when learning how to use novel software like Silhouette Studio.
Let’s check the quick guide and understand How to crop in silhouette studio?
How to crop in Silhouette studio (Step-by-Step)?
Step 1.
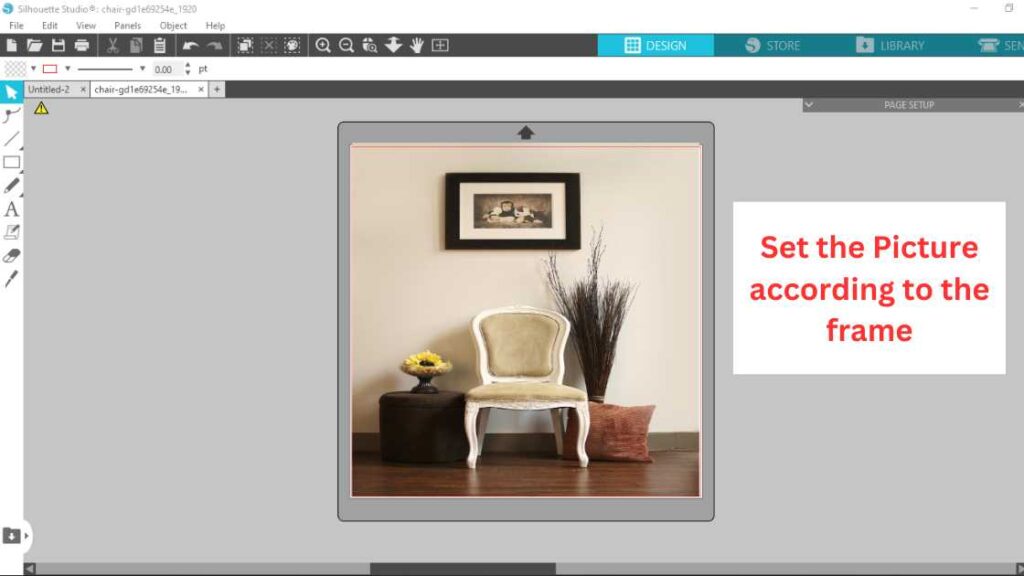
Launch Silhouette Studio and import the image to be cropped by selecting “File” and “Open” from the main menu. To load a picture into the program, just find it on your computer and hit the “Open” button.
Step 2.
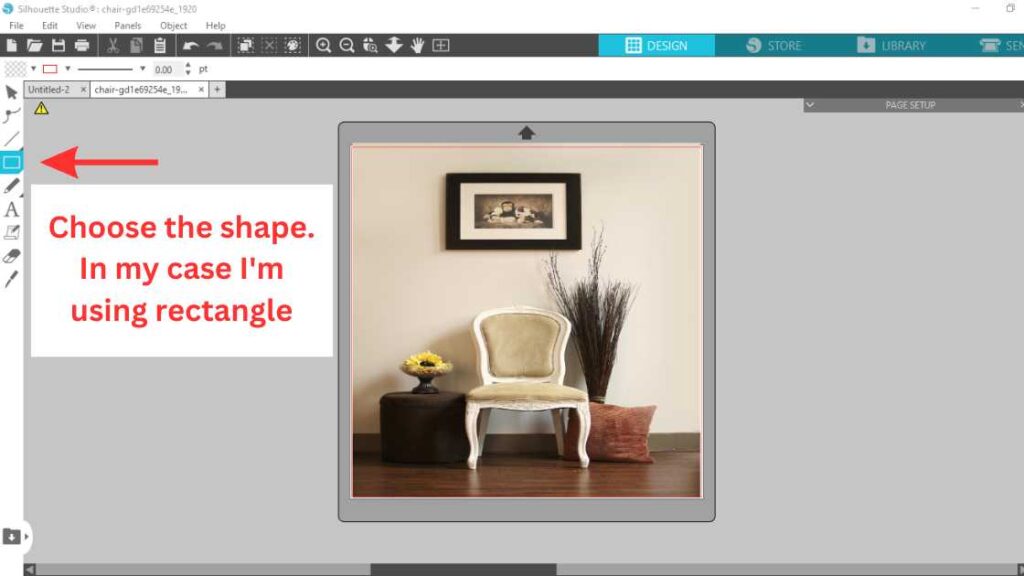
To crop your photo, choose the desired shape from the menu. The shape tool menu is located on the screen’s left side, where you can select from any shapes. The “Draw a shape” tool also allows you to create your own own shape.
Step 3.
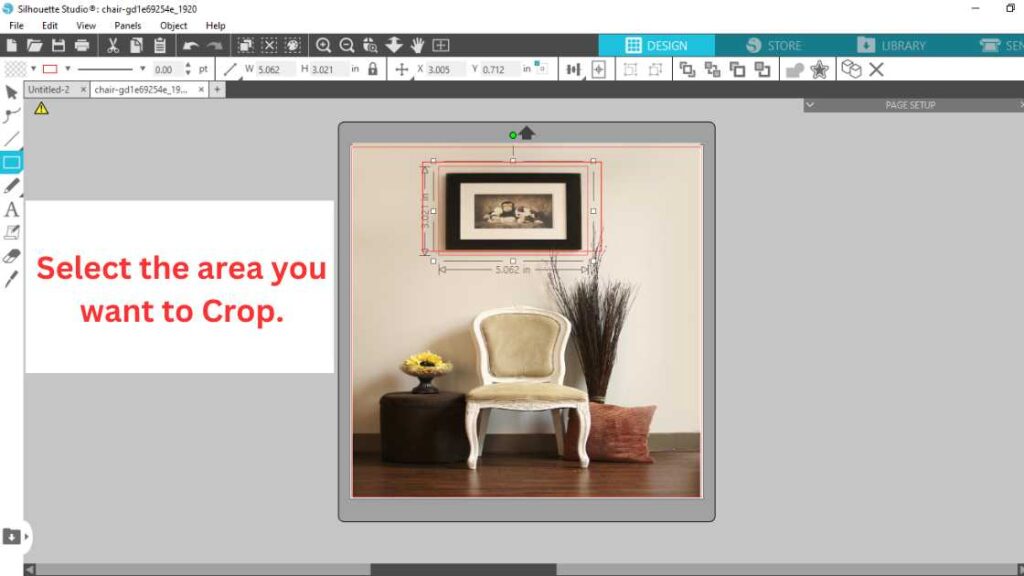
Draw the shape around the object you want to crop by holding the left click and dragging around the object. As you can see, I drew a rectangular shape around the photo frame.
Step 4.
Now Click on the selection tool (Mouse Icon) and select the whole picture by holding the left click and dragging to cover whole picture.

Step 5.
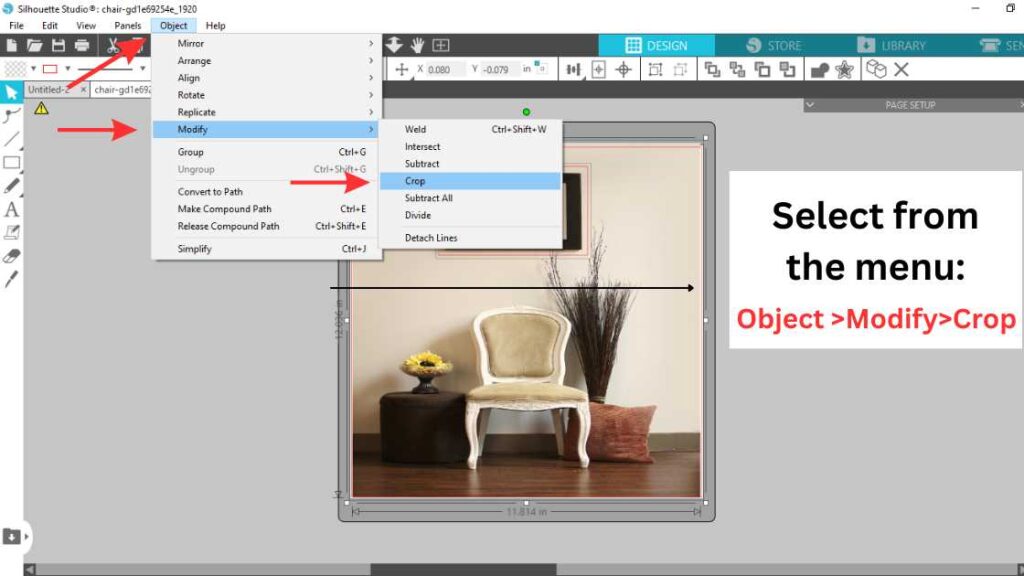
Once the picture is selected, Go to the upper menu and Click on “Object > Modify > Crop”.
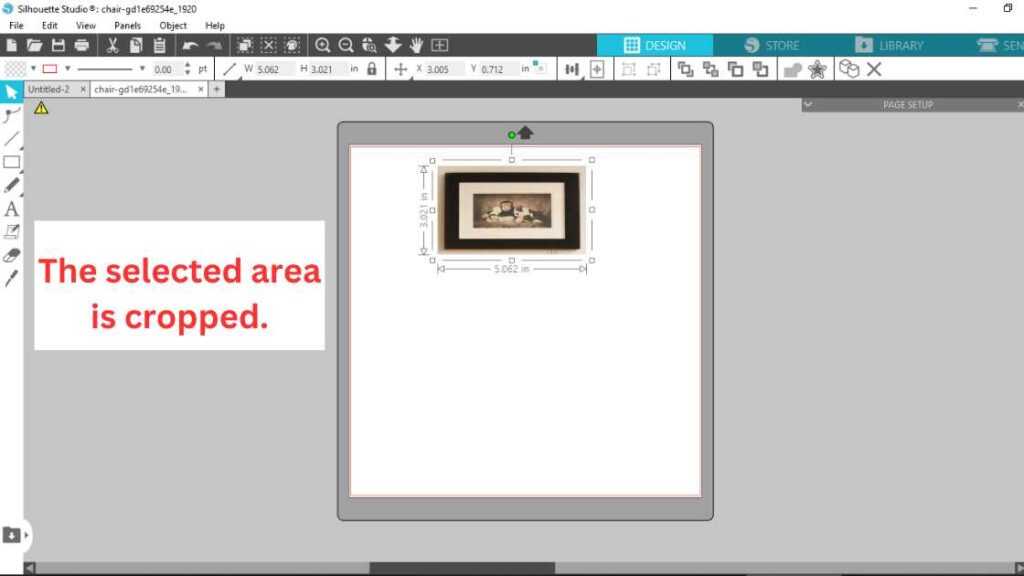
Your Selected area is now cropped.
I am using the Basic version of Silhouette studio if you’re wondering.