Leather is a flexible material used for generations to manufacturing many things, from footwear and clothes to accessories and furniture. With its unique texture and inherent durability, Leather is generally the favoured choice for top-quality manufacturing goods.
But what if you want to add a personal touch to your leather products? This is where printing on Leather comes in. Printing on Leather gives up a world of possibilities, allowing you to add personalized graphics, logos, or text to your leather items.
Whether a small business owner trying to brand your items or an individual looking to personalize a gift, this article will show you “How to Print on Leather?” and produce unique and attractive leather goods.
Is Printing on real or any other Leather possible?
Real Leather and various leather varieties can be printed upon. Screen printing, heat transfer printing, digital printing, and other technologies are just a few of the many that can be utilized to imprint on Leather.
To achieve the desired outcome, the type of Leather, the intended design, and the printing procedure must all be considered. Ultimately, it’s up to your project’s unique specifications to determine which printing method is best.
1. Screen printing on Leather
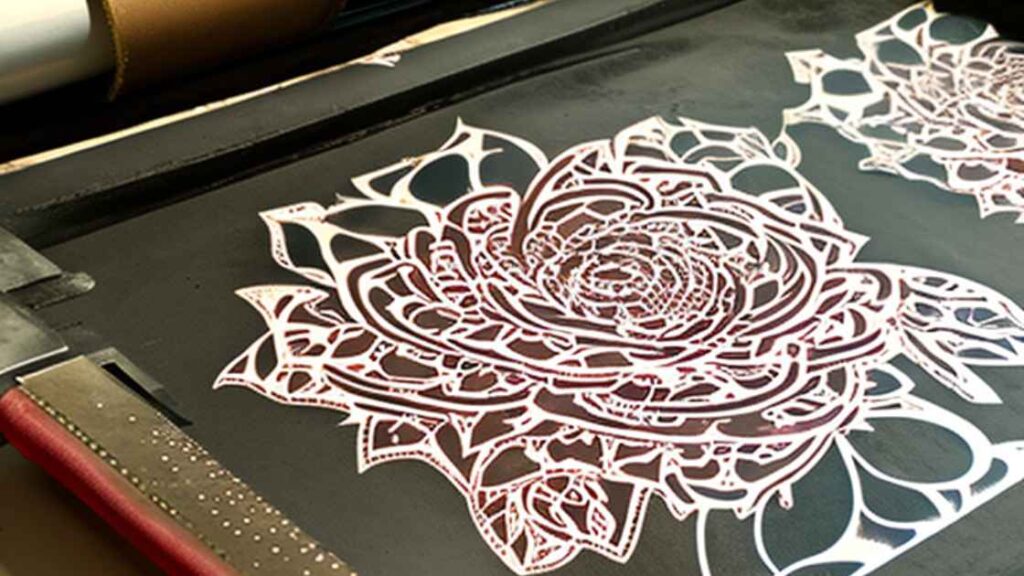
It is a time-tested technique used for decades to imprint designs on leather goods. Screen printing necessitates making a separate stencil (screen) for each colour in the design and then using a squeegee to transfer the ink from the screen onto the Leather.
This technique is great for printing one- or two-colour graphics on heavier leather goods. Screen printing ink is typically a special pigment or dye-based ink formulated to work well with Leather and prevent fading over time.
2. Heat transfer printing on Leather
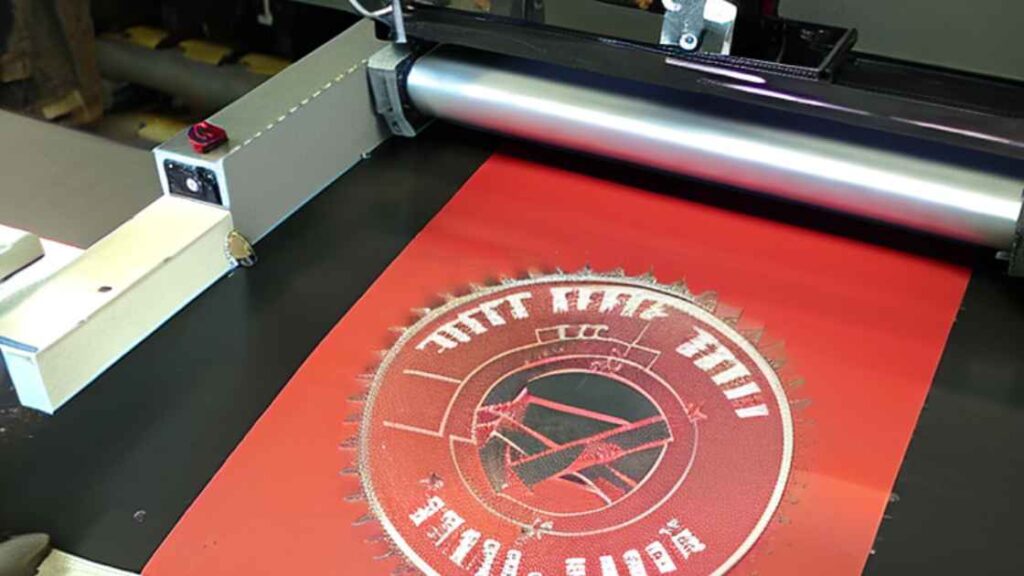
As a more recent technique, heat transfer printing enables the Printing of full-colour images and designs on thinner leather goods. A digital printer is used to print the design onto transfer paper. The design is transferred from the transfer paper to the Leather using heat and pressure.
This approach works well for reproducing photographs with a wide colour gamut and crisp details. Using heat transfer printing, you may put your own stamp on your leather phone cover, wallet, or bag.
3. Digital Printing on Leather
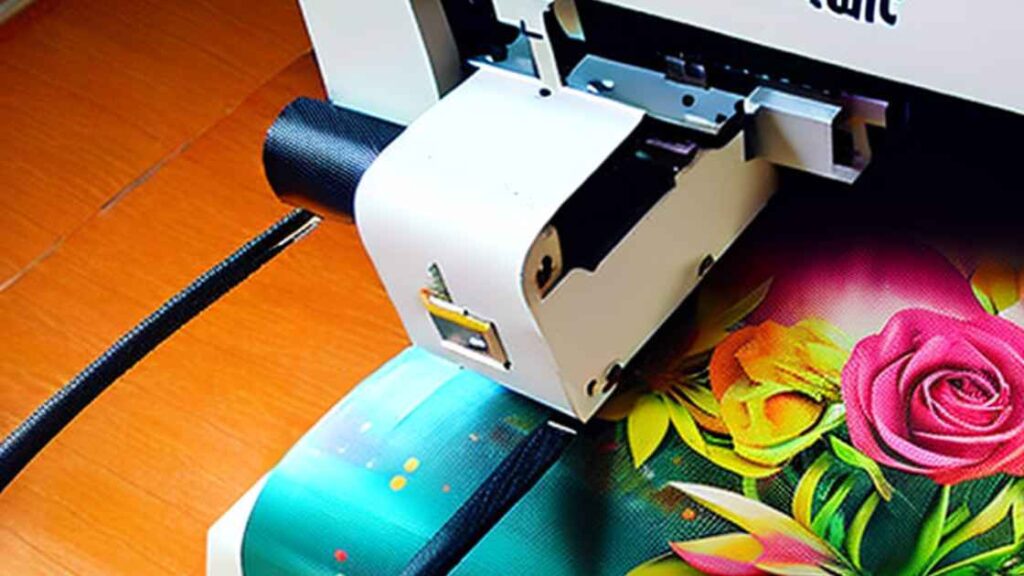
Digital Printing is a flexible technique that may be used to print high-quality, detailed images on a wide variety of leather goods, from thin to thick. In this technique, leather printing inks are applied directly to the leather surface via a specialist printer.
Digital Printing provides the most leeway in creative freedom. It captures a wide gamut of colours, tones, and fine details. This procedure is commonly used to imprint leather goods with advertisements, such as brand names and logos.
There are benefits and drawbacks to each of these approaches, and the optimal process for printing on Leather will vary from one job to the next.
The optimal strategy will depend on several elements, including the type of Leather, the pattern to be printed, the intended outcome, and the available equipment and resources.
Let’s discuss the steps to perform the following methods.
Related: Can you Sublimate on Leather?
How to print on Leather at home?
The methods we discussed earlier can be performed at home. Still, screen printing on Leather might be a difficult and time-consuming task to do at home because screen printing on Leather is a commercial or industrial-scale method.
Industries have space and equipment, and workers do screen printing on Leather easily, but if you have the equipment, you should try it.
Method 1. Screen printing on Leather
Required tools
- Leather material (real or synthetic)
- Screen printing frame
- Screen printing ink (suitable for Leather)
- Squeegee
- Screen printing emulsion and sensitizer sensitizer
- Scissors or blade
- Transparency paper or film
- Masking tape
- Exposure unit (can be a simple light box or UV lamp)
Steps
- Make a print for the Leather from your graphic design software design. Even a hand-drawn design can be used for screen printing if scanned and turned into a vector. Prepare a transparency paper or film printout of your finished design.
- Coat the screen by following the manufacturer’s directions for mixing the screen printing emulsion and sensitizer in a dark room or other lightproof location. Brush the mixture onto the screen printing frame so that it is equally distributed and covered. Let the emulsion dry completely in the dark after application.
- To expose the screen, carefully position the transparency paper on which the pattern has been printed so that it covers the whole surface of the screen. Masking tape will do the trick for securing transparency. The screen should be exposed to light in the exposure unit for a specified time (often 5-10 minutes). When exposed to light, the emulsion will harden where your design is printed, leaving you with a stencil.
- Rinse the screen thoroughly to remove any remaining unexposed emulsion and reveal a crisp stencil of your design. Depending on the emulsion you used, this may require multiple washes. Before moving on to the following stage, ensure the stencil is spotless and devoid of any leftover debris.
- To get the Leather ready, wipe out any dirt or grease with a moist cloth. You can use masking tape to keep the Leather in one place once it’s been laid down flat. It won’t move around when being printed, thanks to this.
- Use a dropper or spoon to apply the screen printing ink on the screen. Please ensure the entire design is coated in ink by spreading it over the stencil and onto the Leather with the squeegee. It’s as simple as repeating the steps above until the appropriate level of transparency is reached. Increasing the ink coverage may need multiple squeegee strokes.
- Wait for the ink to dry, which may take a few hours or overnight. You can hasten the drying process by using a hair drier or a fan, but ensure that the air is not too hot and does not directly hit the Leather.
- After the ink has dried, you can take off the masking tape and look at your print. If the Leather passes your inspection, you may utilize it or incorporate it into your design. A moist cloth can remove smudges and blunders, but excessive rubbing could ruin the Leather, so be gentle.
Also Read: 8 Best Methods to remove Screen printing.
Method 2. Heat Transfer Printing
Required Tools
- Leather material (e.g. a leather jacket, bag, or wallet)
- Heat transfer paper
- Inkjet or laser printer
- Scissors or craft knife
- Heat press machine or iron
Steps
- Choose a pattern or picture to emboss into the Leather. If you want the image to look properly after being transferred, remember to flip it.
- You can use an inkjet or laser printer to print your design directly onto heat transfer paper; follow the printer manufacturer’s guidelines. A good quality print is essential for a successful transfer.
- Using scissors or a craft knife, carefully remove the printed design, leaving a narrow border all the way around. As a result, you can rest assured that the transfer will be precise and orderly.
- Put the Leather in the heat press machine or press it with an iron for a few seconds to get it nice and toasty. Doing so will improve the transfer’s adhesion and protect the Leather from being harmed throughout the application procedure.
- Please ensure the printed design is centred and straight before placing it on the heated Leather. A straight edge or ruler can be used to guarantee precision.
- To prevent the design from being damaged by the iron or heat press, cover it with a cloth or Teflon sheet. This will also help ensure that the transfer isn’t harmed in transit.
- Apply heat using the heat press machine or iron for the specified time and temperature (which will change based on the heat transfer paper you’re using). To get the greatest results, strictly adhere to the manufacturer’s guidelines. If you must use an iron instead of a heat press machine, be careful to apply even and constant pressure.
- Take off the cloth or Teflon sheet and wait a few minutes for the Leather to cool after the transfer procedure. Doing so will ensure the transfer is complete and damage-free.
- Once the heat transfer design has been applied to the Leather, the backing paper can be peeled away. To avoid breaking the transfer, please be patient and careful.
Popular: Sublimation Vs Screen Printing: Ultimate Comparison
Method 3. Digital Printing on Leather
Required Tools
- Leather material
- Digital printing machine
- Ink cartridges specifically designed for leather printing
- Cutting machine or craft knife
- Squeegee or ruler
Steps
- Select a pattern or photo you’d like printed on the Leather. The image must be of excellent quality and resolution, as this will affect the final print quality. We recommend sending your design as a JPEG, PNG, or TIFF file.
- Make room on the digital printer’s bed for the leather fabric. If your washer and dryer have a flatbed, lay the Leather on its front. Load the Leather onto the rollers if the device supports that loading method. Be sure the Leather is straight and taut.
- Prepare the digital printer for leather printing by inserting the appropriate ink cartridges. To ensure that you are using the correct cartridges for your machine, please refer to the manual provided by the manufacturer.
- To prepare an image for Printing on a digital printer, you must first connect it to a computer and utilize dedicated software. Before Printing, you can make any final tweaks to the image, such as adjusting the colours or scaling it, with this programme.
- The machine’s parameters should be modified for the specific Leather being worked on. Possible modifications to the print include modifying the ink density, print speed, and colours used. For optimal controls, read the manual provided by the manufacturer.
- Send the design to the machine to start Printing. Keep an eye on the printer to ensure everything runs smoothly, and the ink is distributed evenly.
- After printing on Leather, press down firmly using a squeegee or ruler. You can avoid smudging and smearing by doing this before printing on Leather. Apply uniform pressure across the whole surface, starting from the centre and moving outwards.
- Use a cutting machine or a craft knife to remove the printed design. Be careful to cut in a straight line and to make precise cuts.
That’s it. These are the steps to all the best methods for printing on Leather. Always remember that any method you choose will depend on the condition of the Leather and your design quality.
You May Like: What can DTG Printers Print on?
Frequently Asked Questions
Q: What type of ink is best for Printing on Leather?
Using the right ink when printing on Leather is essential for getting a professional look and a long lifespan out of your printed materials.
Professionals often advise using solvent-based inks because of their superior adhesion and longevity on Leather. Although water-based inks may last less time than solvent-based inks and require more frequent reapplication, they are still viable.
Q: How do I prepare the leather surface before printing on Leather?
Preparing the Leather correctly is essential for getting a good print job. To ensure proper ink adherence, it is necessary to first clean the leather surface thoroughly of any dirt, grease, or other impurities.
The Leather must next be primed to make it an ink-receptive surface. One can use a leather primer or a leather sealant for this purpose. Printing on Leather can begin with full faith in the quality of the final product once it has been properly primed.
Q: Can I print a full-colour image on Leather, or are there limitations?
There are certain constraints, but yes, you can print full-colour images on Leather. For instance, the ink and surface-preparation methods could modify the image’s saturation and vibrancy. The printed image’s final look may also be affected by the Leather’s natural grain patterns and texture.

