People increasingly turn to digital media to keep their memories safe as technology improves. While this is helpful, it can be sad to lose the ability to have hard copies of treasured memories. You should consider having your photographs printed.
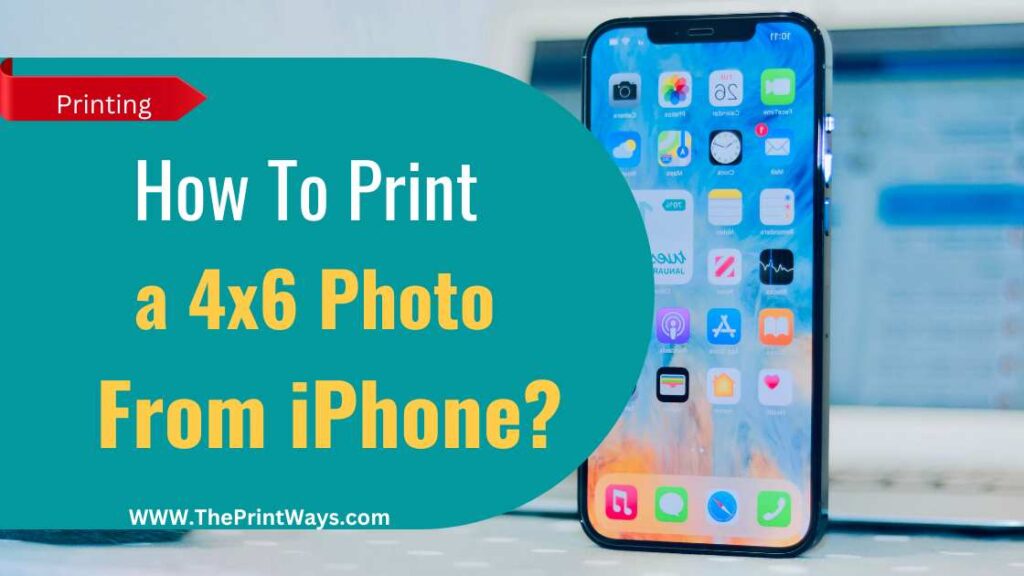
In this post, I’ll show you how to print a 4×6 photo from iPhone. It is a really easy and uncomplicated process so that you may present your most treasured experiences in full splendor.
This guide is meant to help anyone, from an experienced iPhone photographer to a beginner, create consistently beautiful prints from their iPhone photos.
How to Print a 4×6 Photo from iPhone?
Several methods can be used to print a 4×6 photo from an iPhone.
1. AirPrint
Apple’s mobile devices (including the iPhone, iPad, and Mac) come equipped with a function called AirPrint that enables wireless printing to any printer that supports the AirPrint standard.
You can print without connecting your device to the printer through a cable.
They use a Wi-Fi network for wireless communication instead. AirPrint requires an Apple device running iOS 7 or later, a compatible wireless printer, and a shared wireless network. Here are the detailed steps to do it:
- First, see if your printer is AirPrint-compatible. Make sure your printer supports AirPrint before proceeding. You can check Apple’s website or your printer’s instructions for a list of printers that work with your computer.
- Join the same wireless network as your printer and iPhone. Your iPhone and the printer must be linked to the same wireless network for this to operate. You should join both gadgets to the same guest network if one is available.
- The next step is to access the iPhone’s photo library: To print a specific photo, locate it and open it by tapping on it.
- Then, in the upper right corner of the screen, hit the Share icon to begin sharing your content (represented by a square with an upward arrow).
- Select “Print“ from the menu of available options.
- Proceed by Choosing Your Printer: A list will load if you click the “Show available printers“ button. Make a choice corresponding to the printer you wish to use if your printer isn’t shown, double-check that it is powered on and sharing the same Wi-Fi network as your computer.
- Now select the print settings, including the number of copies, the paper size, and whether or not to print on both sides. The print quality and paper type can often be customized on some printers.
- Finally, touch the Print button. Wireless printing of your photo is available. Only bother taking your printout out of the printer once it’s finished.
Also Read: How to print Sublimation Images?
2. Online Printing Services
A service that allows users to upload and print digital items like images, documents, and graphics is called an online printing service.
Compared to purchasing a personal printer or investing in a commercial printing press, these services are both more handy and cost-effective.
All one needs is an internet connection to take advantage of the convenience of online printing services.
Customers can order from the convenience of their own homes by uploading content, choosing a print size and style, and then submitting payment information. Here’s the detailed process to do it:
- First, you pick a provider to print your photos online, like Shutterfly, Snapfish, or Walmart Photo, among many others. Consider aspects like price, shipping time, and feedback from previous customers while making your decision.
- Your second step is to upload your pictures: Create an account and pick the pictures you wish to print. You may use either your iPhone or your PC to transfer the files. Typically, when using an online printing service, you may upload a batch of images at once and have them all printed at once.
- The third step is to select the desired print size. For example, if you want a 4×6 photo, that option will be available. Aside from the standard 4×6, some digital printing businesses now provide 5×7 and 8×10 prints.
- Fourth, you may edit your images using the basic editing tools offered by most online printing services. These capabilities include cropping and red-eye correction. The following resources can be used to enhance your photographs for printing.
- Make sure the quantity, size, and shipping address are all correct before submitting your order. Go ahead and check out.
- Your prints will be sent to your door or anywhere you specify. The printing service and location will affect how long it takes to get your order.
Popular: How to Use HP instant Ink After Cancelling?
3. Transferring Photos to a Computer and Printing
You can also transfer your photos from your iPhone to a computer and print them using your photo editing software. Here’s the detailed process to do it:
- Use the lightning cable that came with your iPhone to link it to your computer.
- Launch iTunes . If iTunes doesn’t open by itself, start it up now.
- As soon as iTunes loads, the icon for your connected device will display in the upper left corner of the screen; click on it. In doing so, you will access the gadget’s summary page.
- To select the photographs you wish to transfer, go to the “Photos” tab on the device summary page.
- Transfer images to a personal computer: Click the “Export” button to export your chosen images. Pick a folder on your hard drive to store the pictures.
- Once the pictures have been saved on your computer, you can alter them by launching your preferred photo editing program. Windows Photo Viewer and Apple’s iPhoto are only two examples of the standard photo editors included with most modern PCs.
- Click the “Import“ button in your editing software and choose the photographs you transferred from your iPhone.
- Pick your print settings: Select the pictures you wish to print in your photo editing program, and then click the “Print“ button. The 4×6 choice should be chosen, and any other print parameters can be customized.
- Make copies of the pictures: Initiate printing by clicking the “Print” button. Now is the time to print the images in 4×6 format.
Conclusion
In conclusion, printing a 4×7 photo is a quick and easy process if you have an iPhone. AirPrint, photo printing apps, online printing services, email, photo kiosks, transferring photographs to a computer, and the iCloud Photos website are just a few options. There is a convenient way to print photographs at home or send them directly to your door.


